DIY: No-Sew Face Mask in Under One Hour
Use your skills to create a one of a kind mask in a short amount of time.
April 13, 2021
Masks are the new fashion statement, with establishments and schools in Anne Arundel County requiring a mask to enter. Why not create your own?
Supplies:
- Medium weight fabric
- Scissors
- Fabric Glue
- Optional: Fabric paint to decorate
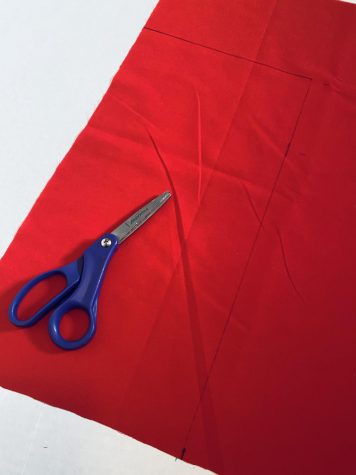
- Cut out a rectangle of fabric (16 x 8.5 inches for an adult face mask, 14 x 6.5 inches for a child’s mask)
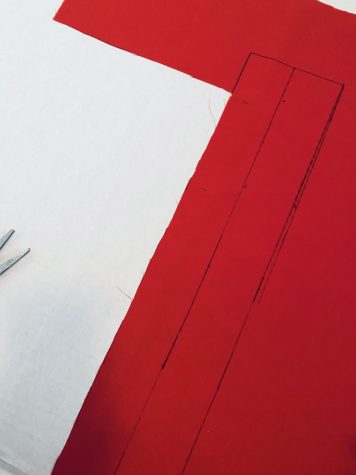
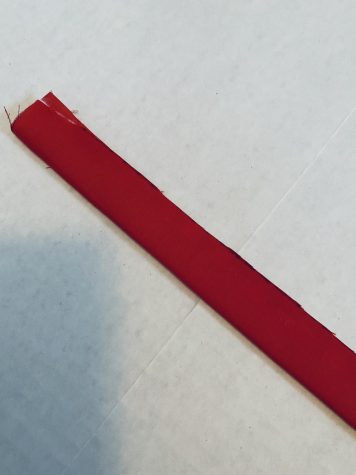
- Cut two rectangles of fabric 18 in x 2 in. With these rectangles, we are going to create fabric straps.
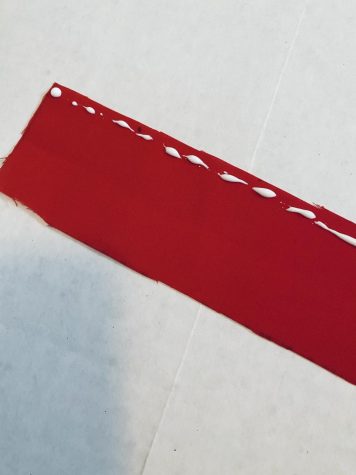
- Apply glue roughly 1/16” from the edge of the long side. Fold the fabric over and stick
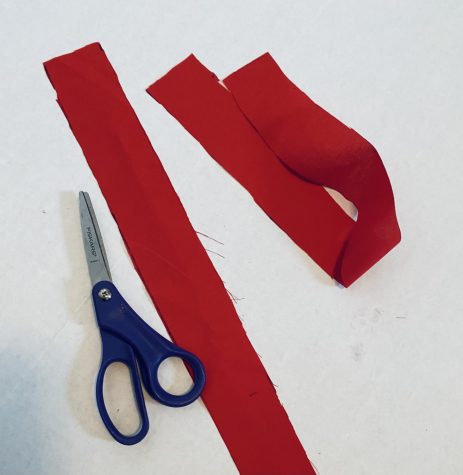
- Turn your tubes of fabric right side out. This will make your straps have a cleaner edge. (Tip: Secure a safety pin to one end of the tube to make it easier to turn right ways.
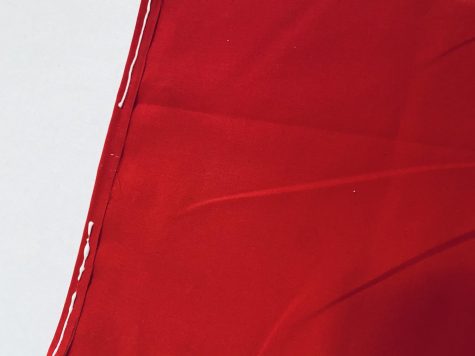
- With your large rectangle, apply a thin line of glue to all edges and fold them over. This will create a hem and will prevent the fabric from fraying. Each hem should be about 1/4″ thick.
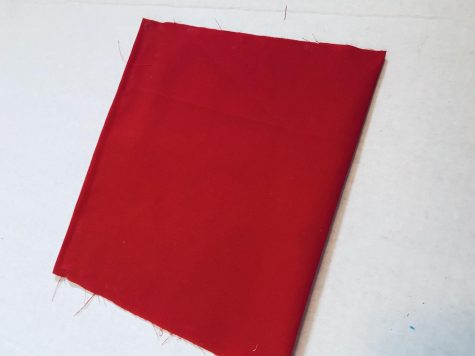
- Orient your rectangle vertically. Along the top short side, apply a line of glue, leaving a 3” space in the middle. This will become a pocket that can hold an air filter.
- Stick the bottom edge to the top. Secure the sides with more glue.
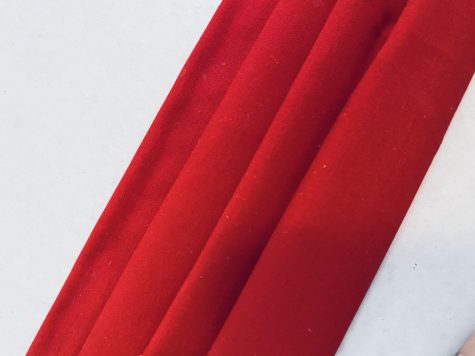
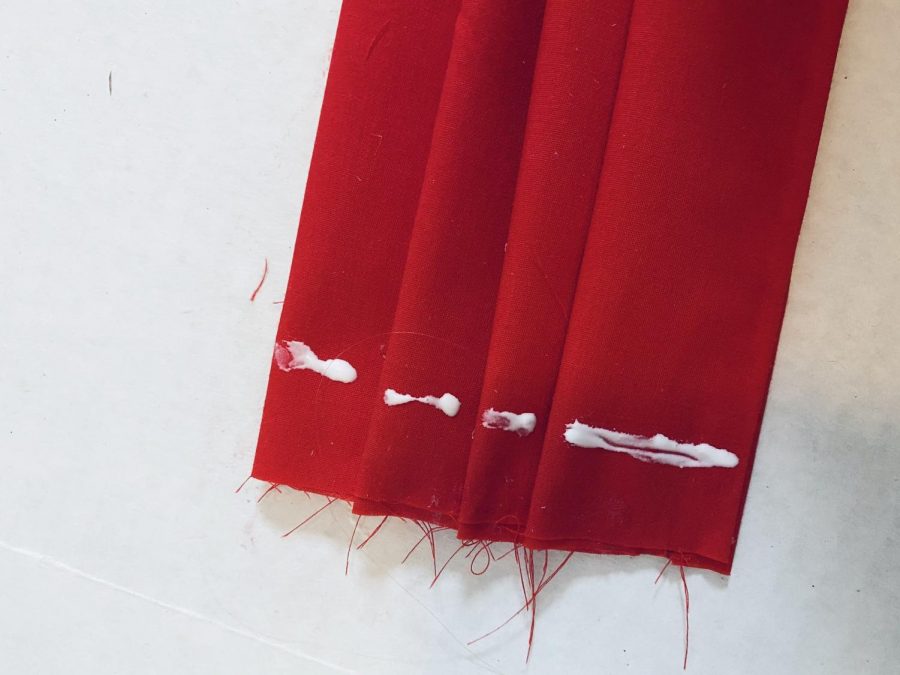
- Next, we are going to make pleats in the mask. Pinch the fabric between your thumb and pointer finger to create your first pleat. Apply a small dot of glue to the sides of your pleat to hold it in place. Repeat four times.
- Flip your mask over. About ½” from the edge of your mask, place a line of glue. Fold over. Repat on the other side.
- In the casings, slide your straps through. These are the ties that will go around your ears. Finished!